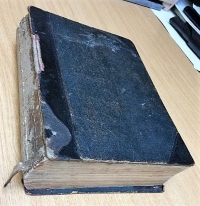
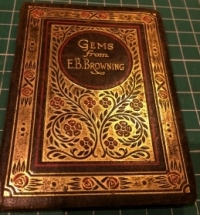
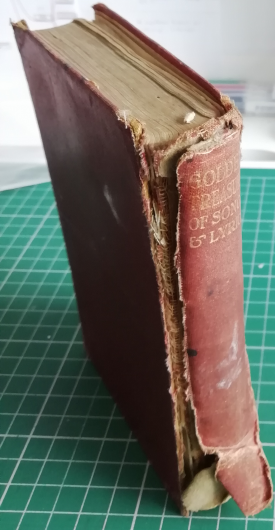
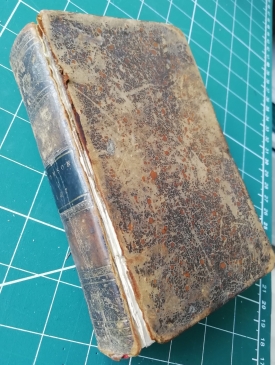
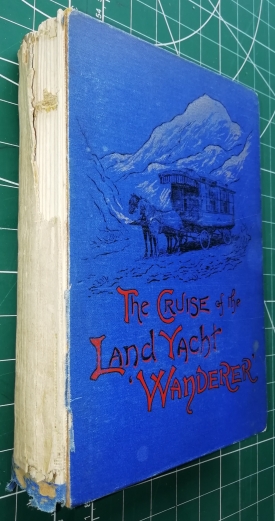
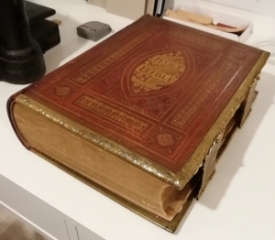
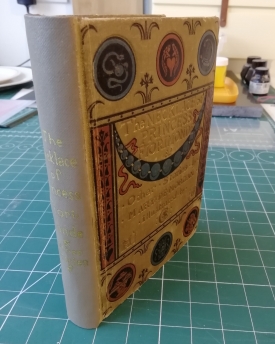
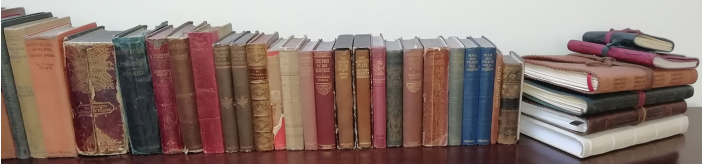
Here's a selection of books I've repaired to give you an idea of what can be achieved.

Wilson's Tales from the Borders
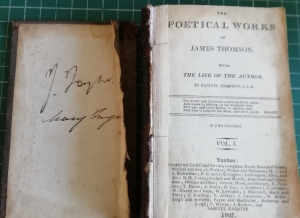
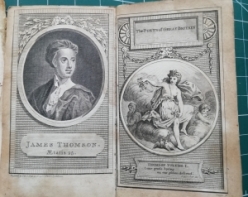
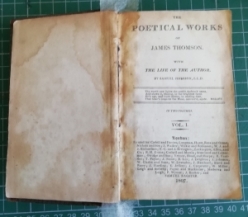
Poetical Works of James Thomson
The Cruise of the Land Yacht "Wanderer"
The Necklace of Princess Fiorimonde & other stories
The Poetical Works of James Thomson
With the life of the author
By Samuel Johnson LLD
In Two Volumes
Published 1807 Cadell Davies
This was a personal project - a repair for my own collection.
I found this book whilst in Lichfield, adjacent to the Johnson Museum. the home of the author.
I took it on as a challenge, as I hadn't at that time repaired a book over 200 years old.
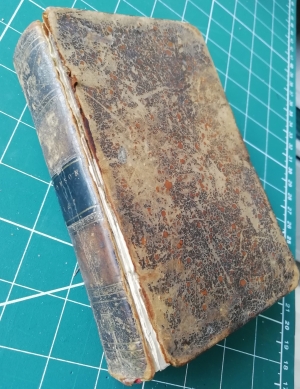
It is also quite a small book - just 3" x 5".
Damage assessment
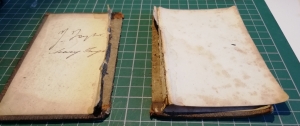
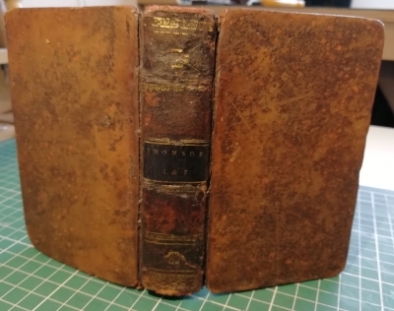
For a 212 year old book, the book block itself was in pretty good condition, apart from a few loose pages at the front.
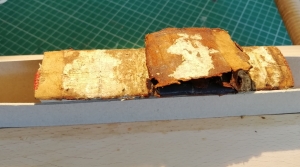
The case had taken most of the damage, with both boards completely detached , having significant wear to the front & back covers.
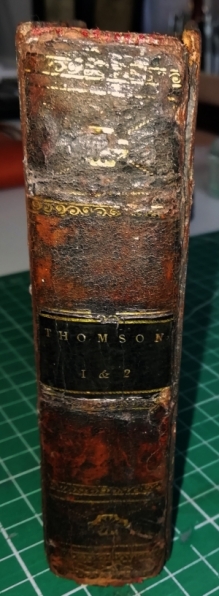
The spine leather was crumbling away around the edges and a chunk missing in the top tooling.
The hinges would need completely rebuilding and reinforcing.
The text block stitching however was intact so a rebind was not required.
The lower head band was coming undone with half missing.
Water stains evident on outermost pages.

Repair process
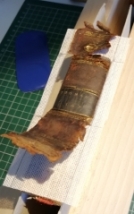
First step was to figure out how to re-attach the boards. Given the fragile and crumbly state of the leather, the normal method of lifting the leather and inserting a supporting piece was not an option.
This left trying to lift the spine leather, which seemed feasible given some of it had already come away from the spine. This meant if I could lift 10mm of the endpapers, I could use a piece of mull to act as the hinge.
To lift the endpapers which were like blotting paper so quite absorbent, I carefully wetted the edge with water to soak in and soften the paste - this worked well, but made the paper very fragile so progress was slow.

Next step was to lift the spine leather - soaking was not an option again due to the state of the leather, but the spine glue was very brittle, so it was possible to gently pare away the glue with a curved scalpel & point.
Again this worked well, until I came to the title, which had been stamped into a separate square of leather and stuck on - this glue would not budge.
This meant a compromise - I would need a piece of mull with a hole in the middle to pass the leather pieces through that had lifted - this meant there was only about 20mm not lifted so there would be sufficient mull to support the book as a hinge.
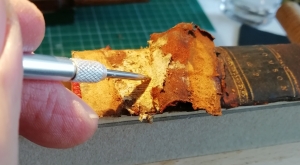
The book block spine needed to be as smooth as possible before applying the mull, so any bits of glue left over needed removing / smoothing, especially over the cords.
I glued the mull with PVA, but did it in two stages to avoid any stretching.
First the flat part of the spine, and then into the hinge area where the block is curved out to the thickness of the boards. Without this, there wouldn't be a functional hinge - the boards would sit away from the block - hard to describe in words but obvious when you look at a correctly formed book!).
Once this was completely dry, then came the moment of truth - reattaching the boards. Key thing about this task is to ensure the boards are square to the spine - sounds obvious, but just 1mm out would spoil the aesthetics of the book, as well as the hinges performance.
This stage was more than a tad fiddly - getting the mull under the lifted endpaper, glued and held in place without getting any glue on the title page - I use clear plastic from plastic document holders cut down to size, and then held it all in place with elastic bands and grippers. No photos, but it worked.
With the case safely rebuilt, the next few tasks were to glue in the loose pages and guard the damaged page folds.
I did the frontispiece first, which was edge glued onto the first stitched page of the text block. This would normally be done onto the end paper, but as this was detached this wasn't possible.
I then edge glued the detached endpaper to this.
Finally both sides of these pages were guarded using Japanese Kozo paper.The guarding is easiest done by holding the kozo paper in position whilst dry, then applying the paste over it.
To avoid getting a hard edge on the Kozo, I gently tease off the edge fibres so it blends better.


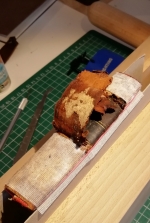
At this stage, one could see the bare white mull where there was no leather within the hinge.
To disguise this, I prepared a colour match with water colour paints and then painted the visible areas of mull.
Then as there was quite a gap, I mixed some PVA glue into the remaining paint and built up a few layers within the gap.
Watering down the PVA allowed it to remain flexible once dry, and fills some (but not all) of the unsightly gaps.
The leather was still pretty brittle, so I applied a leather conditioner to it (Fiebings leather wax and atom balm). This is great for restoring flexibility to leather without affecting the colour. It buffs up nicely too.
Conclusion.
This was a good learning process again, and a satisfying outcome. This 200 year old book was now in a state where it could be safely read again, without causing further damage.
I think further research would be helpful in the use of types of paint & glue to fill in gaps in leatherbindings.
It isn't a particularly valuable book - probably around £20 or so.
Brian Pollitt Artisan Crafts September 2019
| Visitor Counter: | |||||||
 | |  |  | |  | ||