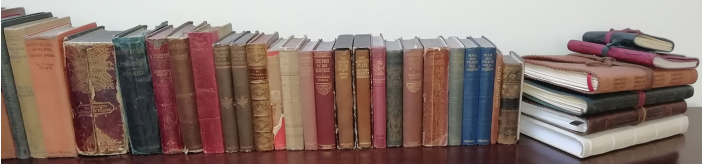
Here's a selection of books I've repaired to give you an idea of what can be achieved.

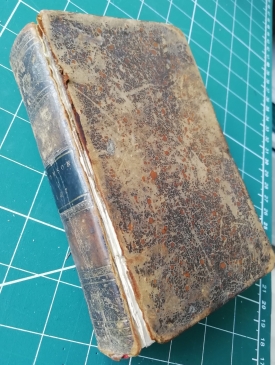
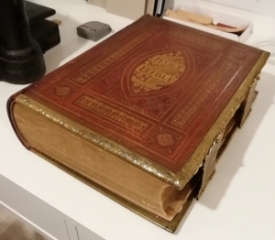
Wilson's Tales from the Borders
Poetical Works of James Thomson
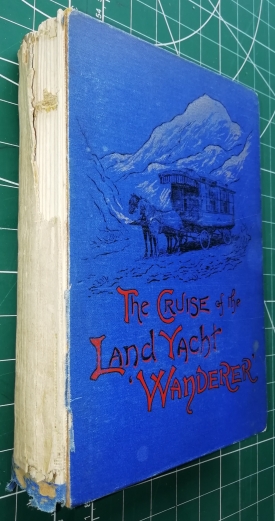
The Cruise of the Land Yacht "Wanderer"
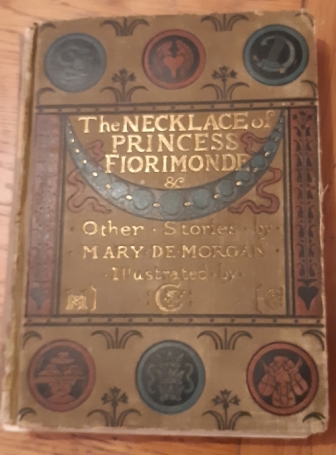
The Necklace of Princess Fiorimonde & other stories
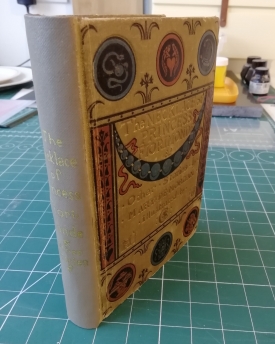
The Necklace of Princess Fiorimonde & Other Tales
Mary de Morgan
This is a second edition print (1886) of a collection of somewhat dark fairy stories by Mary de Morgan first published in 1880 by MacMillan, with illustrations by Walter Crane.
The book has sentimental value to the owner as she has published her own book on the life and works of Mary de Morgan and has owned this book since childhood.
The objective of the repair is to make the book robust enough to be handled safely again without risk of further damage.
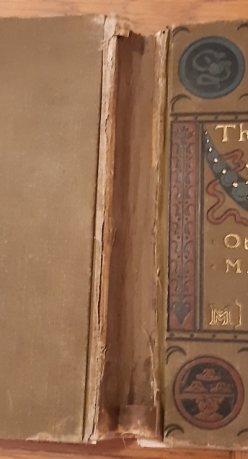
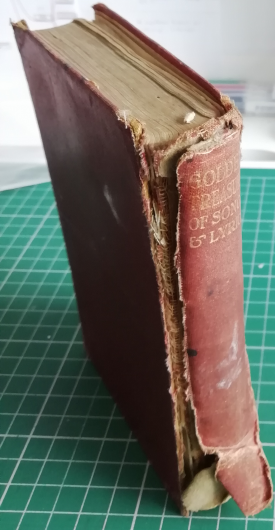
Damage assessment
- Spine book cloth detached and half missing.
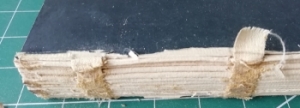
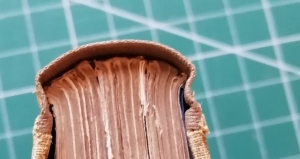
- Rest of spine crumbling with mull stretched making hinges loose.
- Further stretching on internal signatures causing book to lose rounding.
- Majority of illustration pages loose – strip glued after stitching and glue broken down.
- Endpapers ripped at hinges.
- Corners worn and fluffy.
- Some fraying to edges.
Repair Process
First task was to remove the boards as the old mull needs stripping and replacing. The old mull was pared off the boards to allow the new mull to bind directly to the boards.
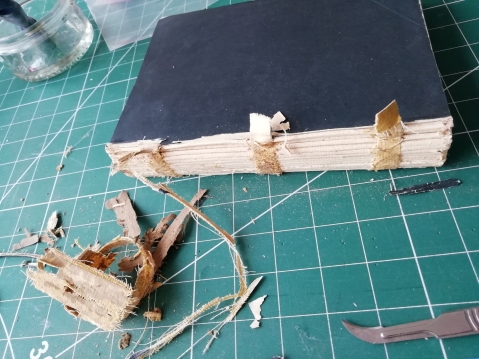
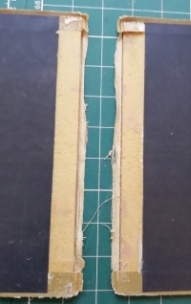
It was at this point that I discovered why the mull had got stretched so much – there was a flaw in the original binding. The signatures are sown onto tapes, which are then glued to the boards. The top tape was actually rolled over and not fastened to the board at all, leaving the mull to take all the strain which eventually proved too much, causing the book to lose its shape.
This would all need tightening up again, but first the loose pages needed to be reattached, to ensure the spine isn’t bound too tight, otherwise the book would just spring open.
Illustrations in books of this era were usually strip glued in place once the book had been sewn.
Most of the illustrations had become detached – about 16 of them, indicating that the original paste used was probably pretty poor (another black mark for the original binder).
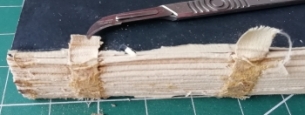
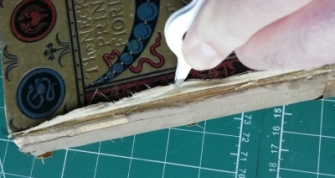
The remnants of this paste had to be removed first; fortunately, it was brittle enough to pare off with a knife instead of having to soften it with new paste first, which is time-consuming and messy.
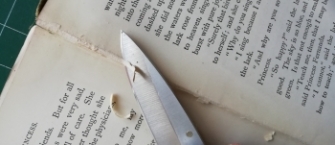
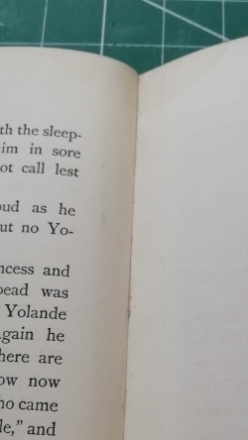
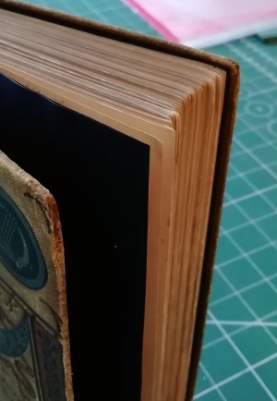
The edges of the illustration plates were worn, torn in places and not really sound enough to be strip glued back in, so normally I would opt for using Japanese Kozo tape which is very thin but strong tissue paper. However, it is colour matched for older more yellowy paper and would look odd. There is an archival quality repair tape which is almost invisible and ideally suited to applications like this – it’s a little expensive but very good – it’s called Filmoplast P. The adhesive is pressure sensitive so can be readjusted until it is firmed down. It is also ph neutral so doesn’t introduce an acidity to the book. Here’s a close-up:
I also used Filmoplast to hold some of the signatures in place to avoid having to resew ahead of fitting new mull.
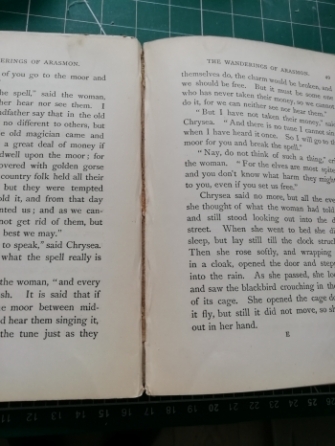
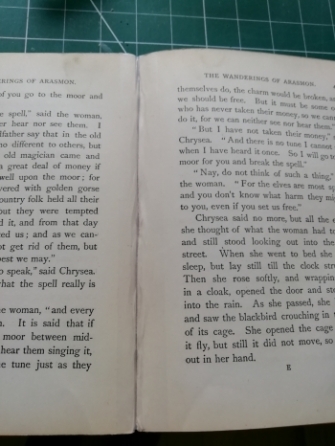
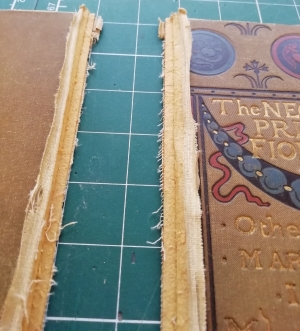
The next two shots are before and after:
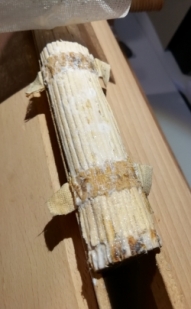
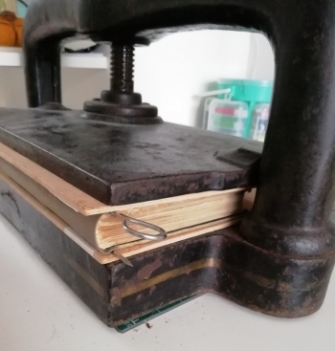
Now that the text block had all the loose pages reattached, it was time to move onto preparing the block to reattach it. For this, the book needed to be rounded back to the classic mushroom shape of hardbacked books. As the book had been loose for some time, the outer signatures had lost this curve. To return the curve the book is rounded by hand initially, then placed between blanks in a lying press, and then gently hammered into shape. Alas I didn’t take a photo of this but the next shot with the glue being applied shows the new curve in the press.
PVA glue was applied across the back of the spine, but not so much that it seeps between the pages.
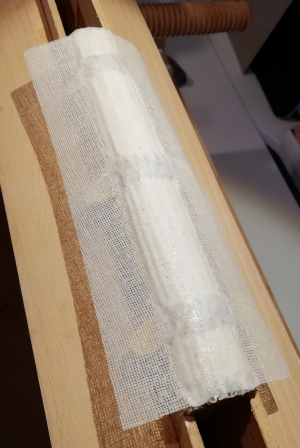
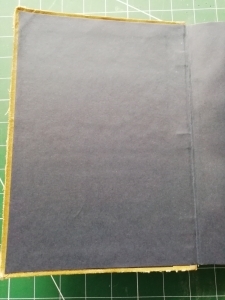
A piece of bookbinder’s mull (non-fraying canvas) was then cut to size and glued onto the spine.
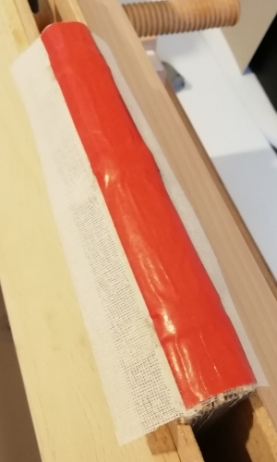
The last part of the book block preparation was to add a new spine support, which is usually thick paper or thin card – I use brown wrapping paper, or in this case wrapping paper that was red on one side as its pretty.
This was left to dry whilst I got on with preparing the boards to receive the new spine book cloth. First task here was to carefully separate the edge of the book cloth from the boards – about 5mm was lifted – this is to allow the new cloth to be attached to the boards and then the older weaker cloth glued down onto the new one.
The neatest way to do this is to have the edge of the old cloth sit in the gutter of the hinge, so there is less chance of it rubbing loose. Fortunately, there was just enough left to trim the old cloth to do this.
The exposed board edge was gently sanded to remove any lumps and also to allow the new cloth to sit lower so the edge isn’t prominent under the old cloth – that’s another reason for it to sit in the gutter.
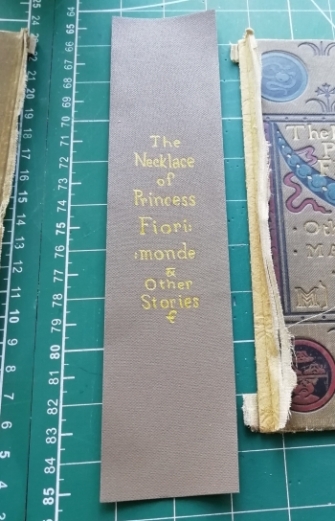
Now the fun bit – the old spine label was lettered in a non-standard font, which meant that any new lettering would have to be hand-written. To make this easier I have developed a new technique. I found some photographs of the original spine lettering online, so I downloaded the best one I could find and enlarged it to be the right size for the book. I then loaded it into Photoshop and edited out everything except the lettering.
Using a piece of book cloth that is a close match to the original, I then printed the skeleton lettering onto the book cloth using a faint colour.
I could then use this as a guide to apply the gold lettering over this. The result worked well.
The next stage was to apply the new cloth to the rear board using PVA and then waiting for the glue to set completely before attempting the next step.
To ensure the book cloth is glued in the correct position leaving enough to go around the book, go down into the hinge gutter and reach the board, the book block was placed on the rear cover, with a skewer taped onto a blank board pressing the cloth into the hinge.
The cloth was wrapped around the spine and, with the front board clamped in the correct position, the new cloth was glued into place again using a skewer attached to a pressing board to ensure the glue sets in the gutter of the hinge. Once I was happy everything was in its correct place, I glued the old cloth over the new.
With the skewers and pressing boards in place, the book was then left in the nipping press for a few hours to keep the book in the shape it needs to settle into.
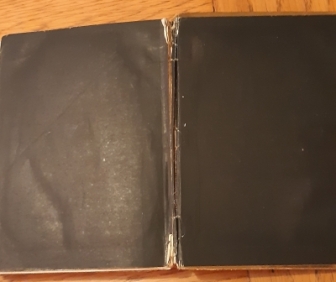
Once I was happy with the case, the book block was then reattached to the case. This is where the new mull wings were glued to the boards. This is done by gluing the mull and laying it in position on the board, wrapping the case around the book ensuring the case spine is tight up to the book block and then gluing it onto the other board. The book is held closed, but not pressed at this stage. Sheets of plastic are placed in between the board and the adjacent pages to prevent any excess glue sticking the boards to the pages.
Once the glue is almost dry the book was opened, and the plastic carefully peeled off.
The book was then then left open for the glue to dry completely.
As the old end papers had split and were unsightly, new ones were applied.
The new paper Is stronger so more likely to last longer but is in keeping with the colours used in the 19th century. The loose papers were pasted to the inside of the new endpaper and then Filmoplast used to seal it to the next page at each end.
The corners of the book were quite worn, with the boards showing through and become delaminated. To resolve this, they were soaked in watered down PVA and then clamped between two sheets of plastic.
Once everything was completely dry, the book was returned to the press to help it settle into the final shape.
Here’s the finished repair:

Brian Pollitt Artisan Crafts November 2019
| Visitor Counter: | |||||||
 | |  |  |  |  | ||