
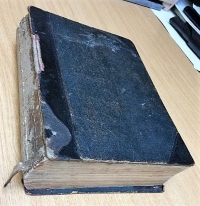
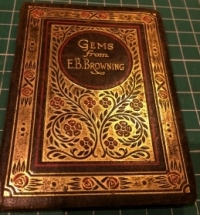
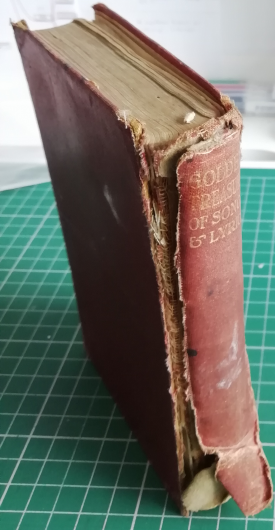
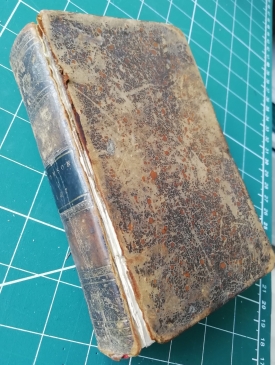
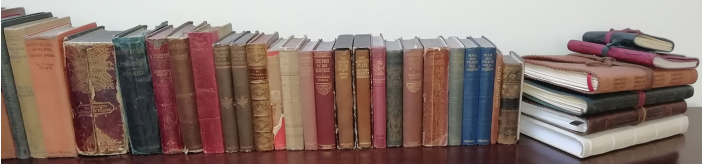
Here's a selection of books I've repaired to give you an idea of what can be achieved.

Wilson's Tales from the Borders
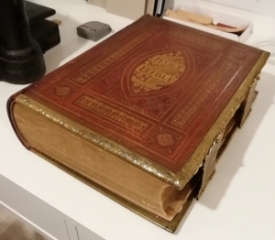
Poetical Works of James Thomson
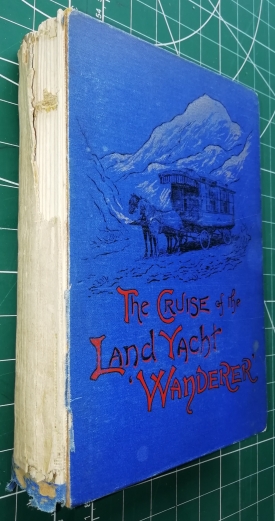
The Cruise of the Land Yacht "Wanderer"
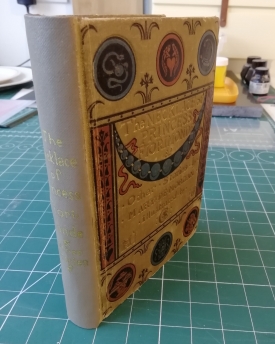
The Necklace of Princess Fiorimonde & other stories
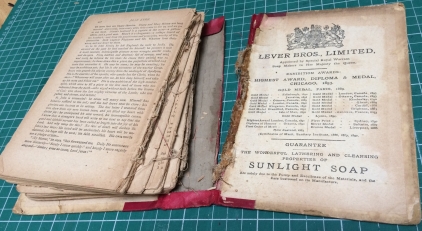
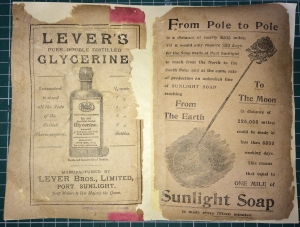
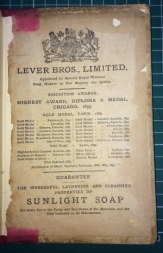
This poor book was in a sorry state when I found it at an antiques & collectibles fair and thought "wow, that's a challenge!" No printed date was visible, but I have found an identical copy on Abe Books dated 1889. This one has adverts citing gold medal awards for Sunlight Soap up to 1893, so 1894 would be a good guess. Intact it could have fetched a good price (2 US sellers asking $60), but the interesting things about it for me were the 130 year old adverts for Sunlight Soap and how to deal with infectious diseases through good hygiene.
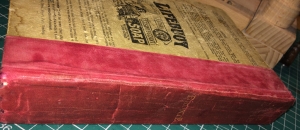
From this... To this.
Damage Assessment
The damage was significant:-
- Casing completely detached;
- Spine book cloth torn;
- Text block stitching come away on most signatures (interestingly each signature had been stitched individually first, instead of the whole block in one go);
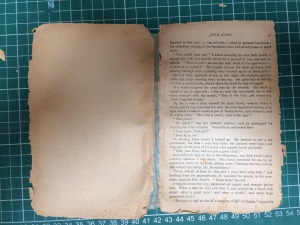
- The pages were incredibly fragile with the first few leaves very brown and crumbly.
Repair Process
The first job was to pull the book apart (very carefully). Fortunately the signatures were lettered alphabetically on the first page of each as well as being numbered (mostly). Removing the remaining threads was straight forward.
Each signature was then examined to see if it could be restitched, or whether some repair work would be necessary first.
Where there was insufficient paper to support stitching, the pages are 'guarded' with a strip of tissue paper (ideally Japanese Kozo which is made from the Mulberry tree, as it has long fibres allowing it to be made incredibly thin). Not every page can be guarded as this would increase the spine thickness too much. I opted for guarding the outer leaf of each signature, and a few of the inner ones where there was nothing left to support the stitches.
Several pages were completely detached, with some worn all the way around like these shown, which meant the guarding had to be applied with a gap in the middle. I made a template to lay the pages on to ensure correct positioning before pasting.
If it was a book of any significant value I would have stained the tissue paper to match the page colour exactly, but the native colour was pretty close.
The book really needed new endpapers for support, but that would have meant losing the adverts. I tested a corner of one of the endpapers to see if moistening it would be enough to melt the paste - fortunately it was, so I proceeded to very gingerly lift what remained of the endpapers. These were then pasted onto new thicker endpapers.
In hindsight I could have stained the paper first, but I was concerned about them cockling and not drying perfectly flat.
Another mistake was not knowing that the dye would run out of the bookcloth underneath the original endpaper which bled through onto the endpapers I was trying to save. Won't make that mistake again....
I restitched each signature individually as per the original, before stitching into the text block.
Next job was to figure out how to repair the casing. The quarter binding book cloth was really fragile, so I opted to lift this from the boards by leaving a damp cloth over the spine for a couple of hours. This was sufficient to soften the glue to allow it to be lifted.
I used a new piece of book cloth cut slightly smaller than the original, the idea being for the new cloth to provide structural integrity and then glue the old cloth on top to preserve the look and feel.
The old cloth was also torn and fraying on one hinge, so I pasted a piece of colour-matched ribbon to the back that the loose threads could be glued to.
The spine stiffener had also crumbled so a new piece of card was used.
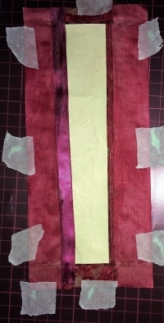
It was at this point I decided to use a hollow spine for the binding, as the paper was too delicate to support replicating the original closed spine.
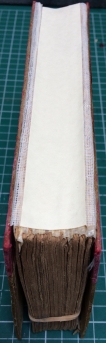
I then clamped the block in my lying press before applying a piece of mull to the spine, leaving about 20mm each side to stick to the boards.
When this was dry I glued the mull flaps to each of the boards.
This was then supported by gluing a thick piece of paper over the mull. As it is a hollow binding it didn't need a thicker compression material.
Unfortunately my enthusiasm caught me out on the next step and I forgot to take photos of applying the new cloth and then sticking the old cloth on to it. However you can see the end result worked, as the hinge in the photo is the one that was ripped away. It still has the old battered look but is fully functional.
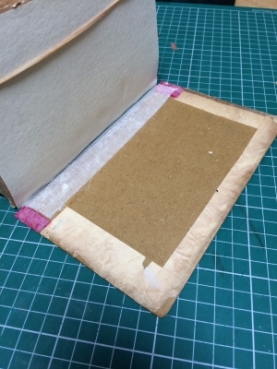
The final step was to apply the new endpapers with what was left of the original adverts.
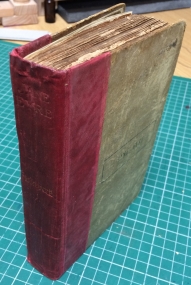
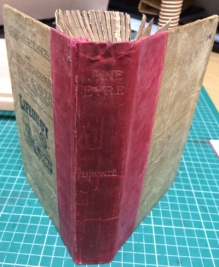
Final photo shows the book is now functional.
The book flow isn't ideal, i.e. the pages don't rest flat, but then it is a lot better than it was!
This was a good learning exercise for me.
Brian Pollitt Artisan Crafts September 2018
| Visitor Counter: | |||||||
 | |  |  |  |  | ||